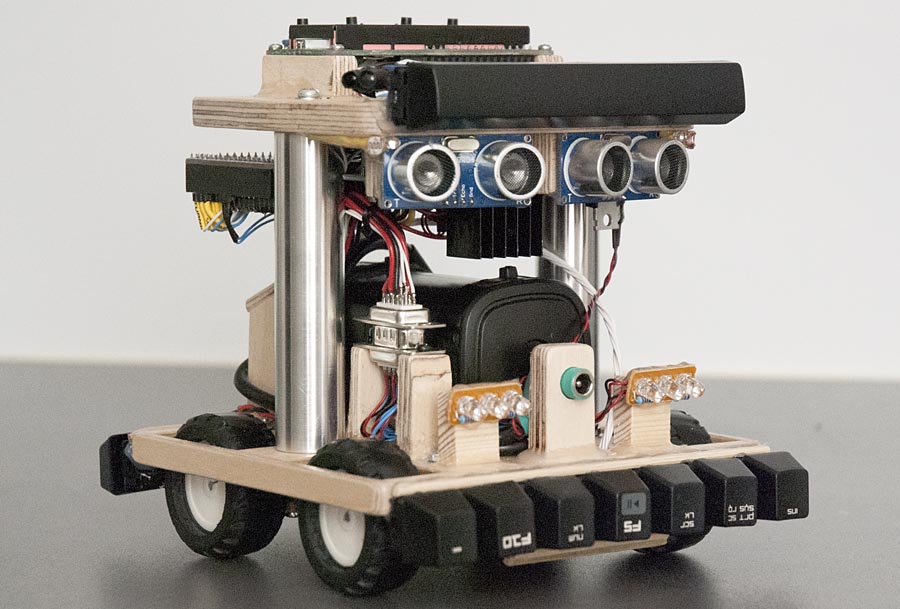
This is an Auduino Mega based obstacle avoidance robot I built to test a few ideas I had and learn more about what it takes to make robot robot that can navigate around an indoor environment without getting stuck on things.

Power system
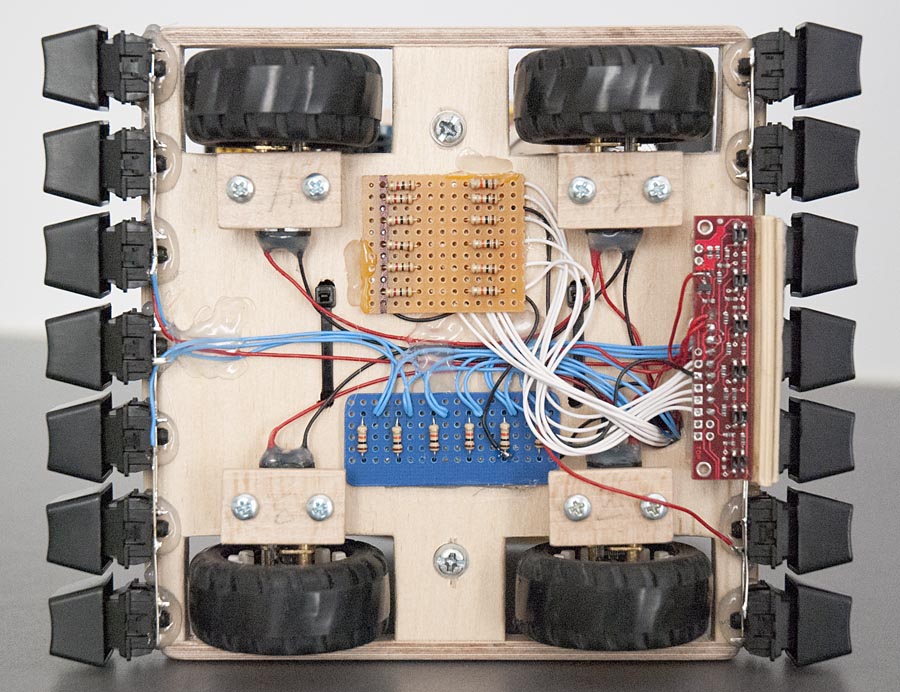
The robot is powered by an 2 cell, 7.2 volt, 4000 mAh Lithium ion battery from an old bicycle light. A dual H-bridge motor driver (L298N HG) drives the four micro gearmotors. The motors I used are cheep chinese copys of Pololu’s micro metal gearmotors, and they are not good. I probably should hav gone with the real ones instead. My motors do not sound very convincing, and the wheels are not perfectly round, which causes to robot do wobble a bit while rolling forward. My robot uses a skid steering to make turns. The rubber in the wheels turned out to have to much friction against to floor, therefore I had to put tape on the wheels to make turning easier for the robot.
Turning
Since the wheels have to slide sideways over the floor when turning, a lot more power from the motors is needed to get the wheels turning compared to driving strait forward. One solution would be to always run the motors in full speed while turning, but that would result in very fast and uncontrolled turns. To be able to make slow and precise turns I use a PID control loop that always tries to rotate the robot to a setpoint heading. To measure the robot’s heading I just integrate the gyro signal from a MPU 6050 IMU. No compass is needed since I am only interested in the relative heading, not the absolute heading. The PID control loop always runs regardless of what the robot is doing. If I want the robot to make a slow turn I just slowly increase or decree the setpoint angle. This control loop also makes it possible for the robot to drive in a strait line without drifting to the sides, even if two of the wheels is on a carpet with higher friction and the other two wheels are on the floor with lower friction.
Sensors
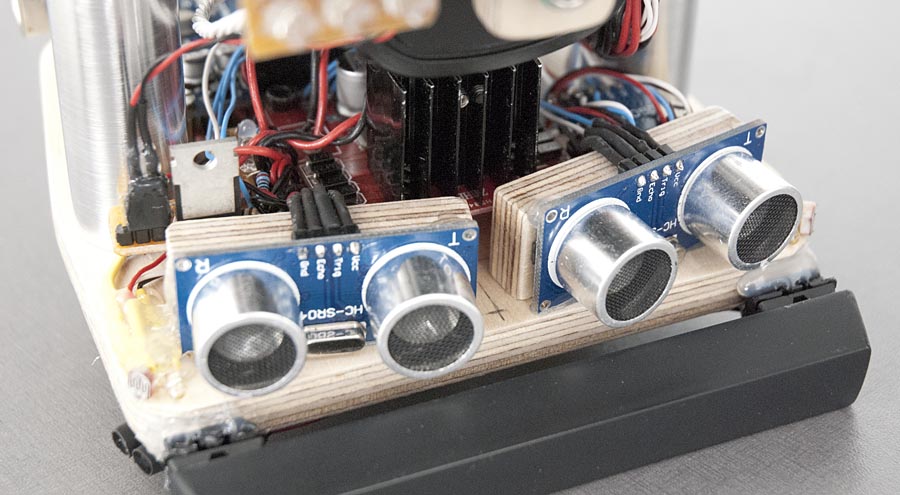
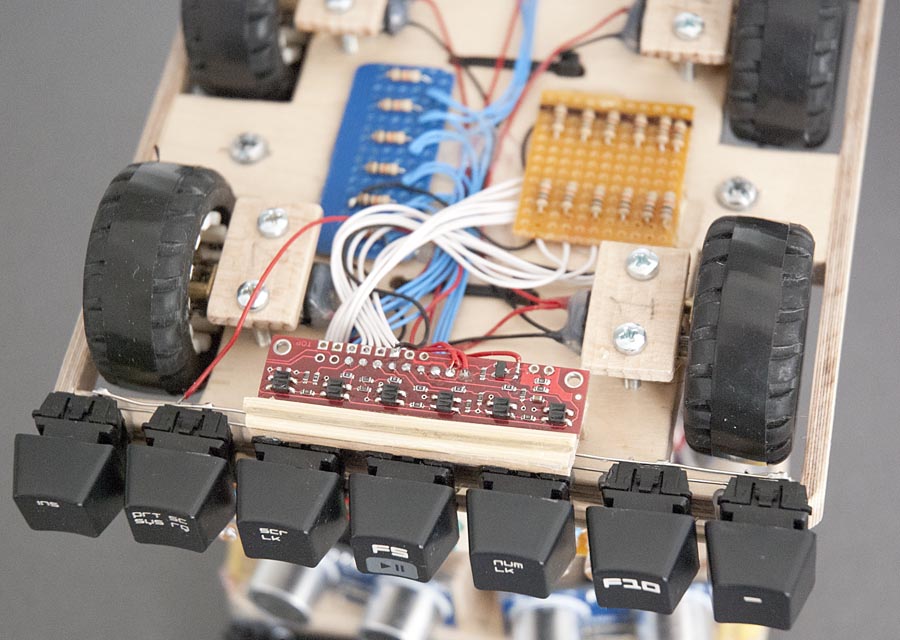
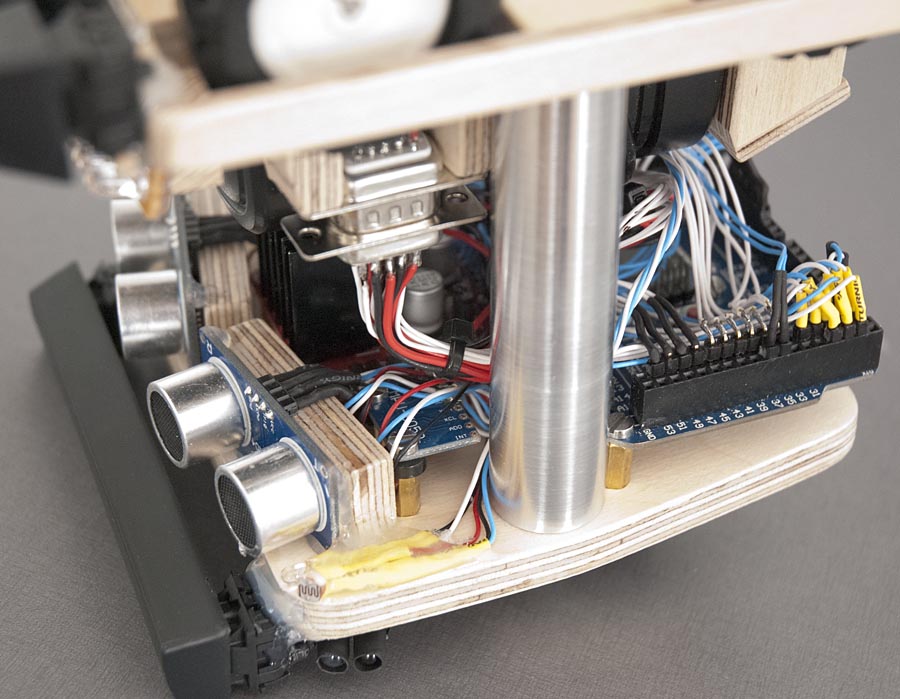
This robot has many different types of sensors. It uses bumpers made using cherry mx keyboard switches, two ultrasonic rangefinders and two IR rangefinders. A MPU 6050 gyro and accelerometer is used to estimate the robots roll and pitch angles as well as it’s heading. There is also a line sensor that can be used for line following.
Display and user input
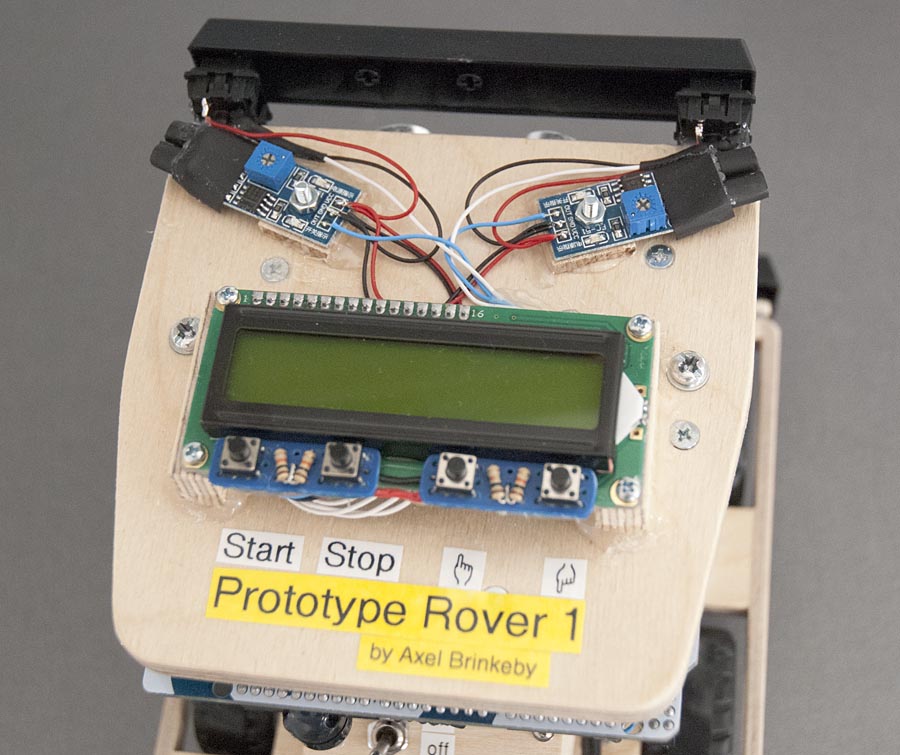
I added a display and four push buttons to the top of the robot to make development and debugging easier. I have created a very simple menu system that allows me to switch between different menu screens to display data from all the different sensors. The menu system can also be used to start the robot in different modes, for example: Obstacle avoidance mode ore line following mode.
More about line following in the future…