Author Archives: Axel
Assembling a 3D printed quadcopter
I made a video showing the process of assembling one of my 3D printed quadcopter frames with carbon fiber tubes. Read more about this quadcopter frame here: Quadcopter page
3D printing a fidget spinner
This video shows the process of 3D printing and assembling a fidget spinner. I have designed the spinner using Autodesk Inventor. The spinner is slightly asymmetric, making it easy and comfortable to start it. I use a ceramic ball bearing in the centre and normal bearings as weights. I always use Cura to slice my parts before 3D printing. To print in different colors, I manually edit the generated G-code file using Notepad++. Cura automaticly puts a comment in the G-code file at the start of each new layer. I use the search function to find a specific layer and insert a couple commands to lower the printbed and pause the machine so I can change the filament.
The STL files for the spinner is available on Thingiverse here.
DIY FPV goggles
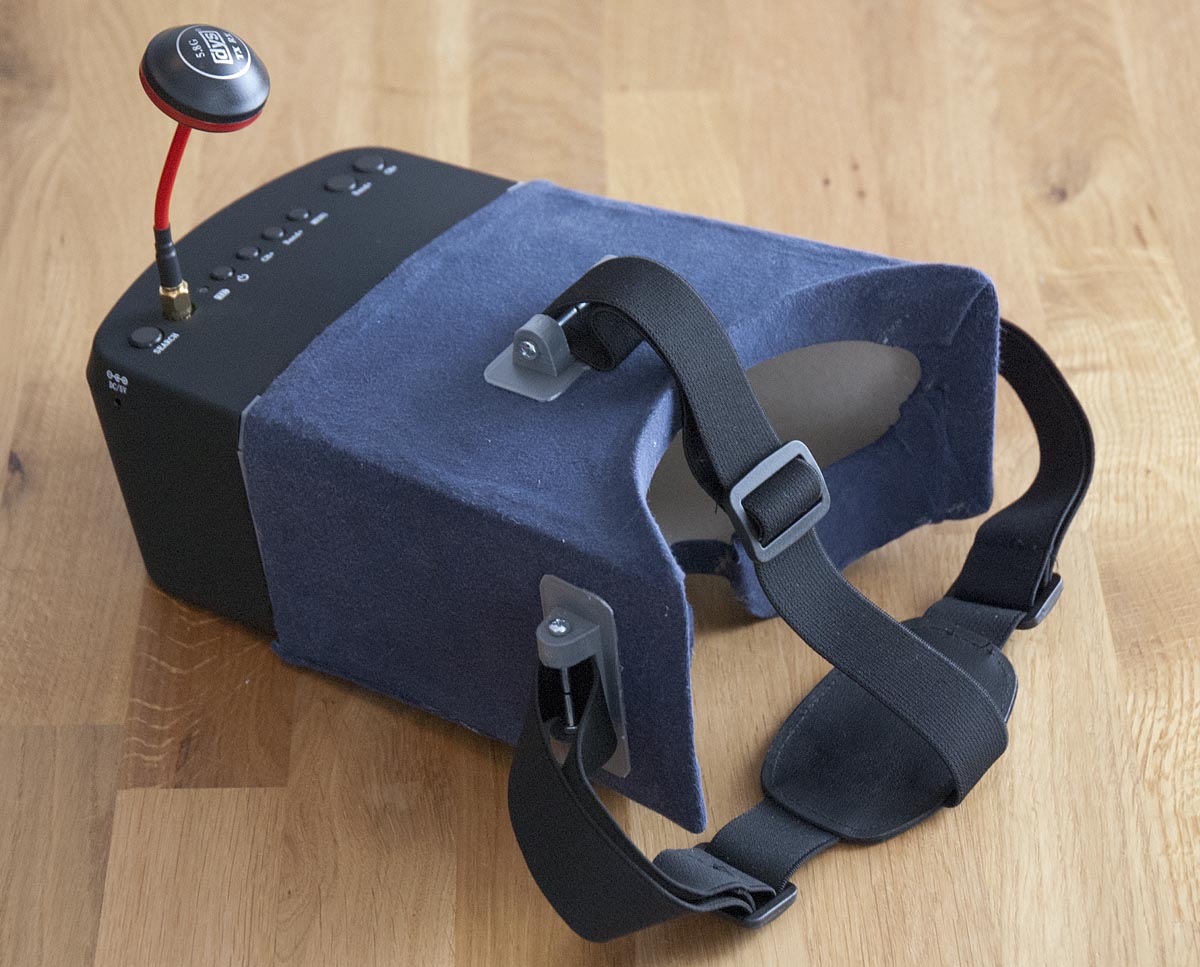
When I wanted to get into FPV a couple of moths ago I bought the Eachine EV800 FPV goggles with built in VTX and battery. I liked the idea that they could be used as goggles, and also as a screen. However, when that arrived I realised that they were very uncomfortable to wear, and I was not able to wear my normal glasses under them as I had intended. Therefore I only used the screen to start with.
I was not completely happy with the screen experience, I still wanted to have googles. Therefore I started to design my own goggle-part. I started with making a four part assembly in SketchUp to snap into the existing mount on the EV800, and also to hold the fresnel-lense in place. I 3D printed the parts, glued them together, and they fit perfectly. Since the shape of the rest of the goggles is very complicated, I thought it would be very time-consuming to design and 3D print everything. Therefore I built the rest of the goggles using cardboard, paper and hot glue. To make it look better and be more comfortable to wear I covered the entire thing in fabric, using more hot glue. I kept the part touching the face as large as possible to make them fit over my glasses. I finished off the design with some 3D printed parts to mount the original head strap from the EV800. I am pretty satisfied with the result. Now the goggles are comfortable, fits over my glasses, and is comfortable to wear. And I can still remove the screen from the goggles is I want.
All STL files for 3D printing are available for download here: DIY_FPV_goggles.zip
Click “Continue reading” for more images.
Flips and tricks with 3D printed quadcopter
I Made a video where I do some tricks with the new 3D printed quadcopter.
New 3D printed quadcopter
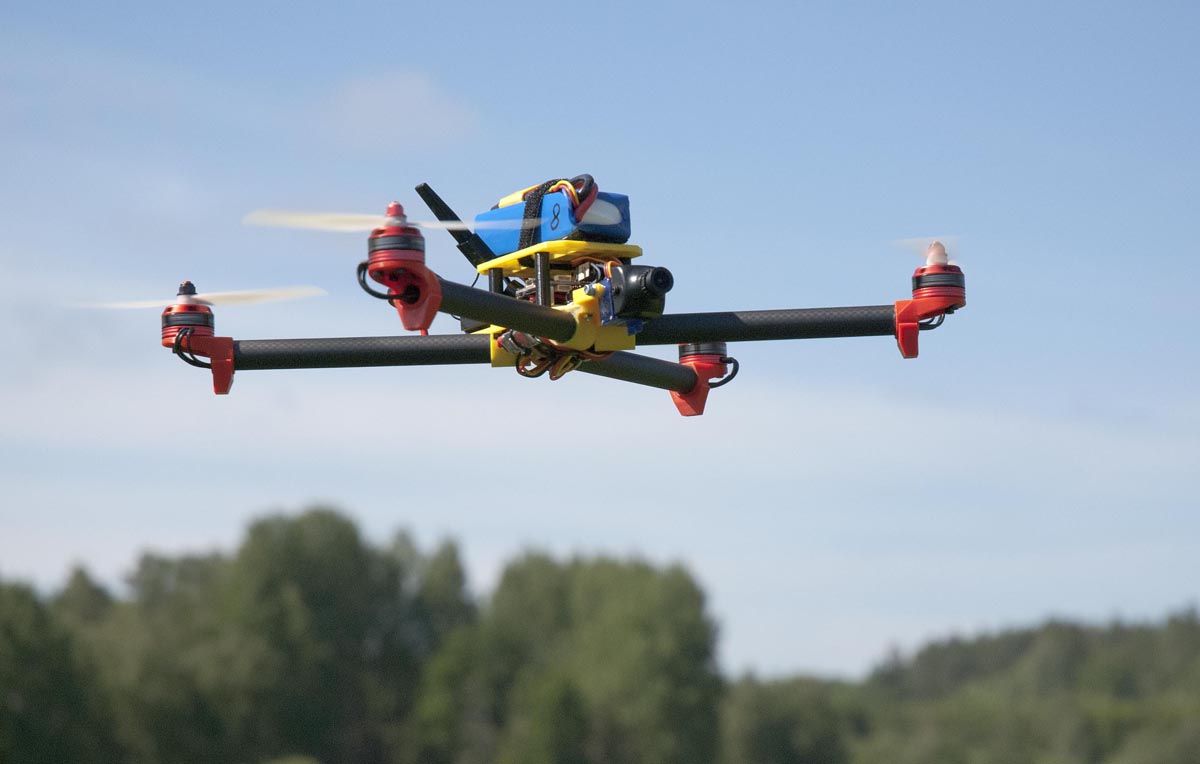
Here is a video of my newest 3D printed quadcopter. The quad with this design was to make it lighter than my prevues designs. Here I used 16 mm carbon fibre tubes as motor arms. This also allowed my to install the motor cables inside the carbon fibre tubes, making it look realy clean.
Link to the page with more information and images: 3D printed FPV quad
3D printed Spitfire
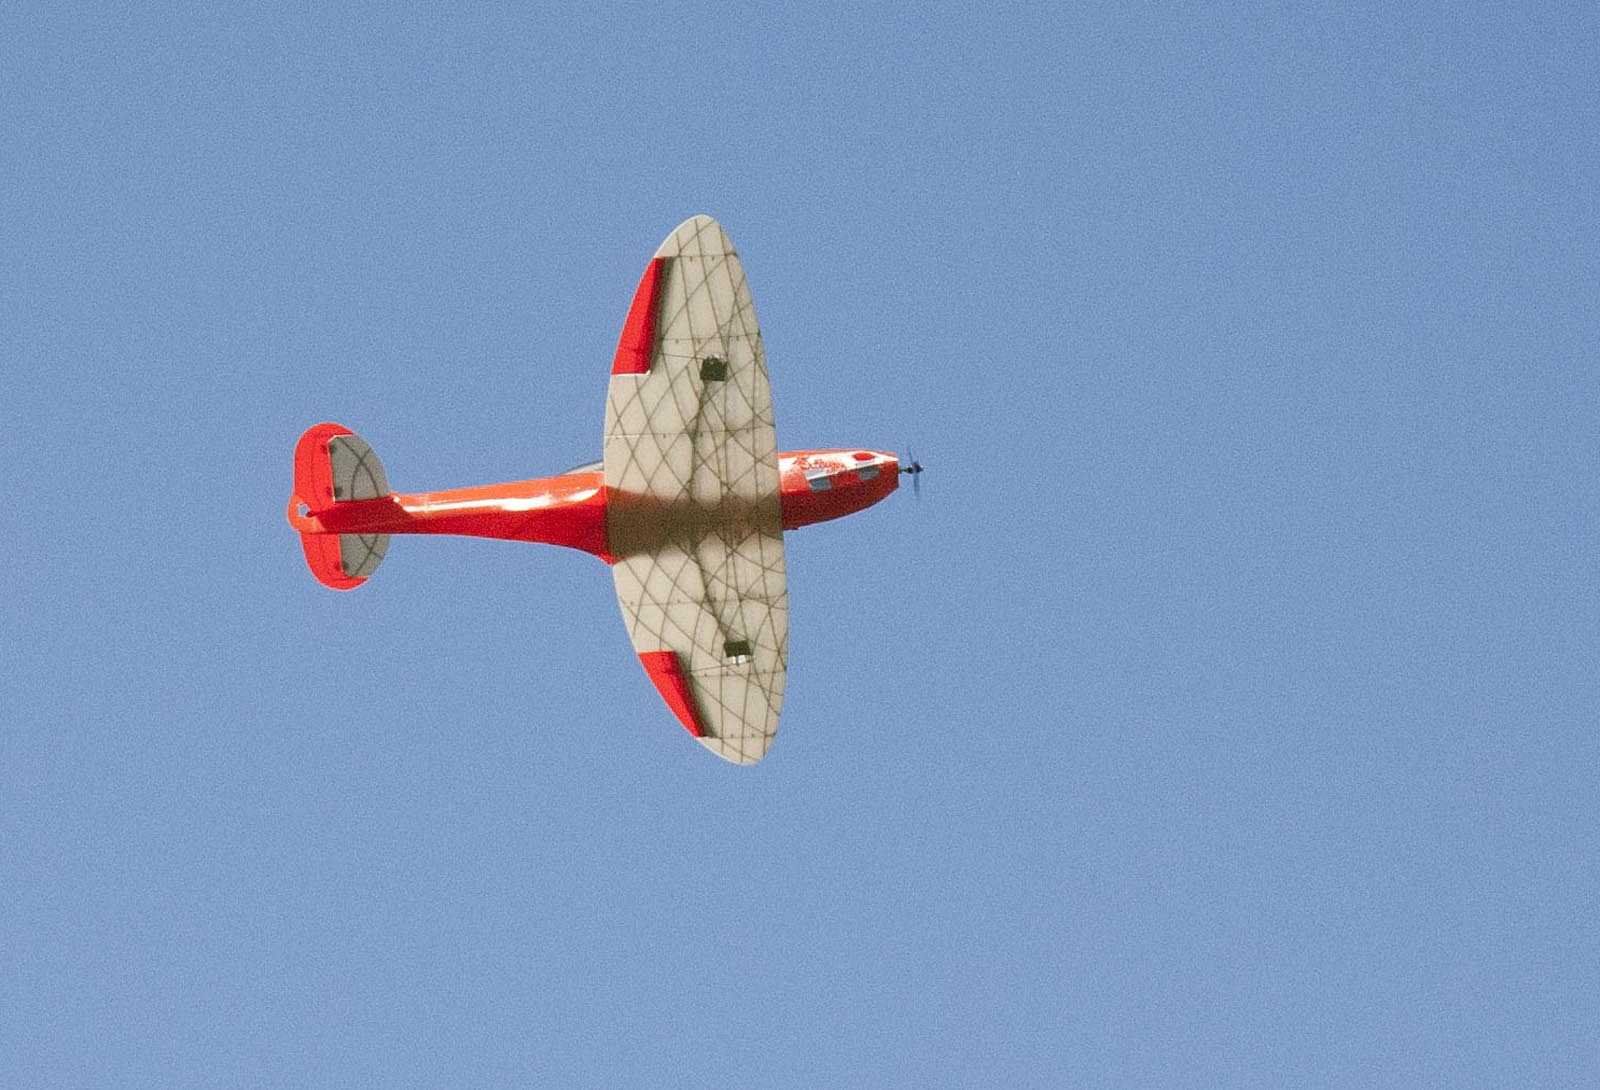
Here is a short video of a fully 3D printed Spitfire. Design by 3DLabPrint. The plane is printed by a friend of mine, on his Original Prusa MK2 3D printer. It was an interesting experience to build it and test it. Usually, I am not a big fan of scale RC models at all. The plane is a little heavy for my taste, and maybe my setup is a bit underpowered. But it does fly nicely, and it does look very cool in the air when the light shines through the wing, highlighting the 3D printed reinforcement structures.
3D printed quadcopter and hexacopter avalible for download
I have continued to work on my 3D printed quadcopter. Now I have also created a new baseplate for a hexacopter. It is still using the same wooden arms, motor mounts and landing gears. I have also created a few extra pieces that I needed, mostly mounts for different antennas.
I will probably add more pieces in the future. Please comment if you have any ideas for what I should add or change.
Click the link below to download the STL files for all the pieces I have made so far.
3D printer files avalible for download
I have created a zip-folder with all the files for my DIY 3D printer. It includes the original SketchUp file, all the exported STL-files ready for printing, and the Marlin RC8 firmware configuration files. You can download it on the 3D printer page: Here
3D printed quadcopter
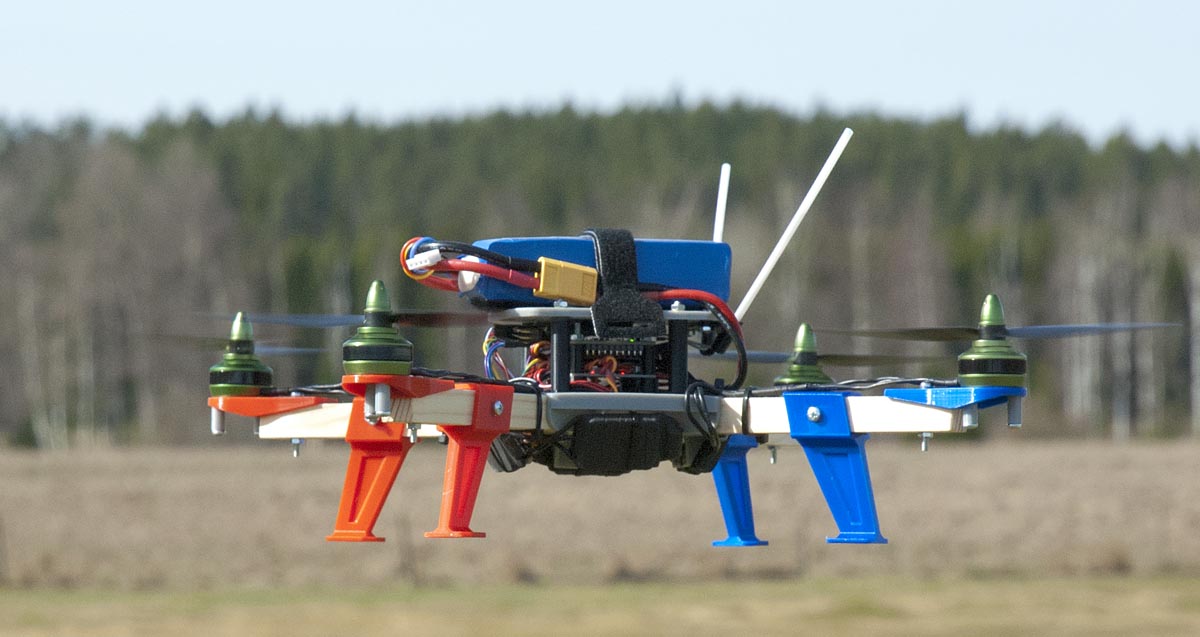
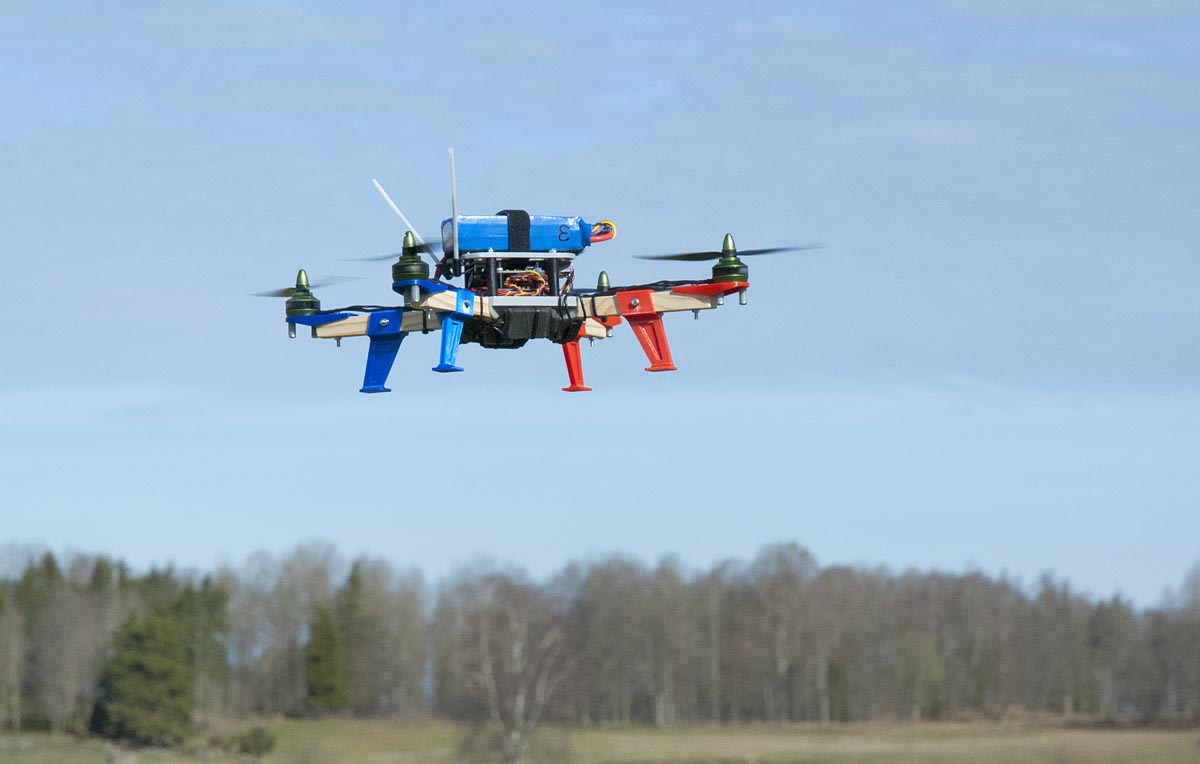
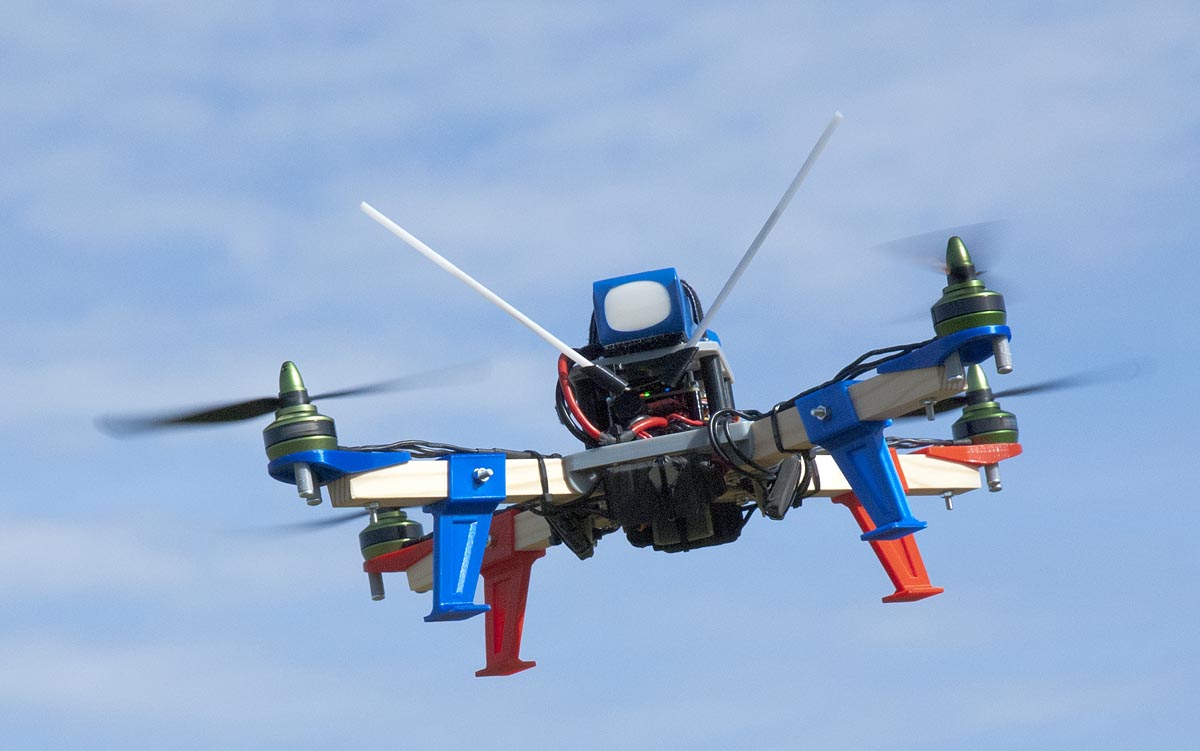
This is a 3D printed quadcopter that I have made. The design is not entirely 3D printed, it uses 15×15 mm wooden spars as motor booms. My idea was to create a modular system to build quadcopters (and maybe other multirotors) using 3D printed parts. I want multicopters that are fast and easy to assemble, modify and upgrade. I also want them to be cheep in material cost, therefore I have tried to keep the weight as low as possible. Right now, one quadcopter frame is slightly below 100grams of plastic.
Right now I have 3D printed motor mounts, landing gears and a center piece as well as a top plate for mounting the battery and all the necessary spacers. The size of the quadcopter is determined by the length of the wood pieces. The quad in the images is a 250 size. I am using wood instead of 3D printed arms it to keep the weight down, I also think it is stronger.
I will continue to experiment with this 3D printed multirotor building system, and hopefully make all the STL-files available for download in the future.
