I made a new version of the mainboard in the balancing robot, fixing all the problems with the previous one. I also got the prototype of the remote controller working. It is sending the X and Y values of the control stick to the robot. The robot is then adjusting its speed setpoint and turning variable based on those values.
The RC input probably needs some filtering. Now I just use the values directly, and if the user does to fast movements there is a risk that the robot falls over.
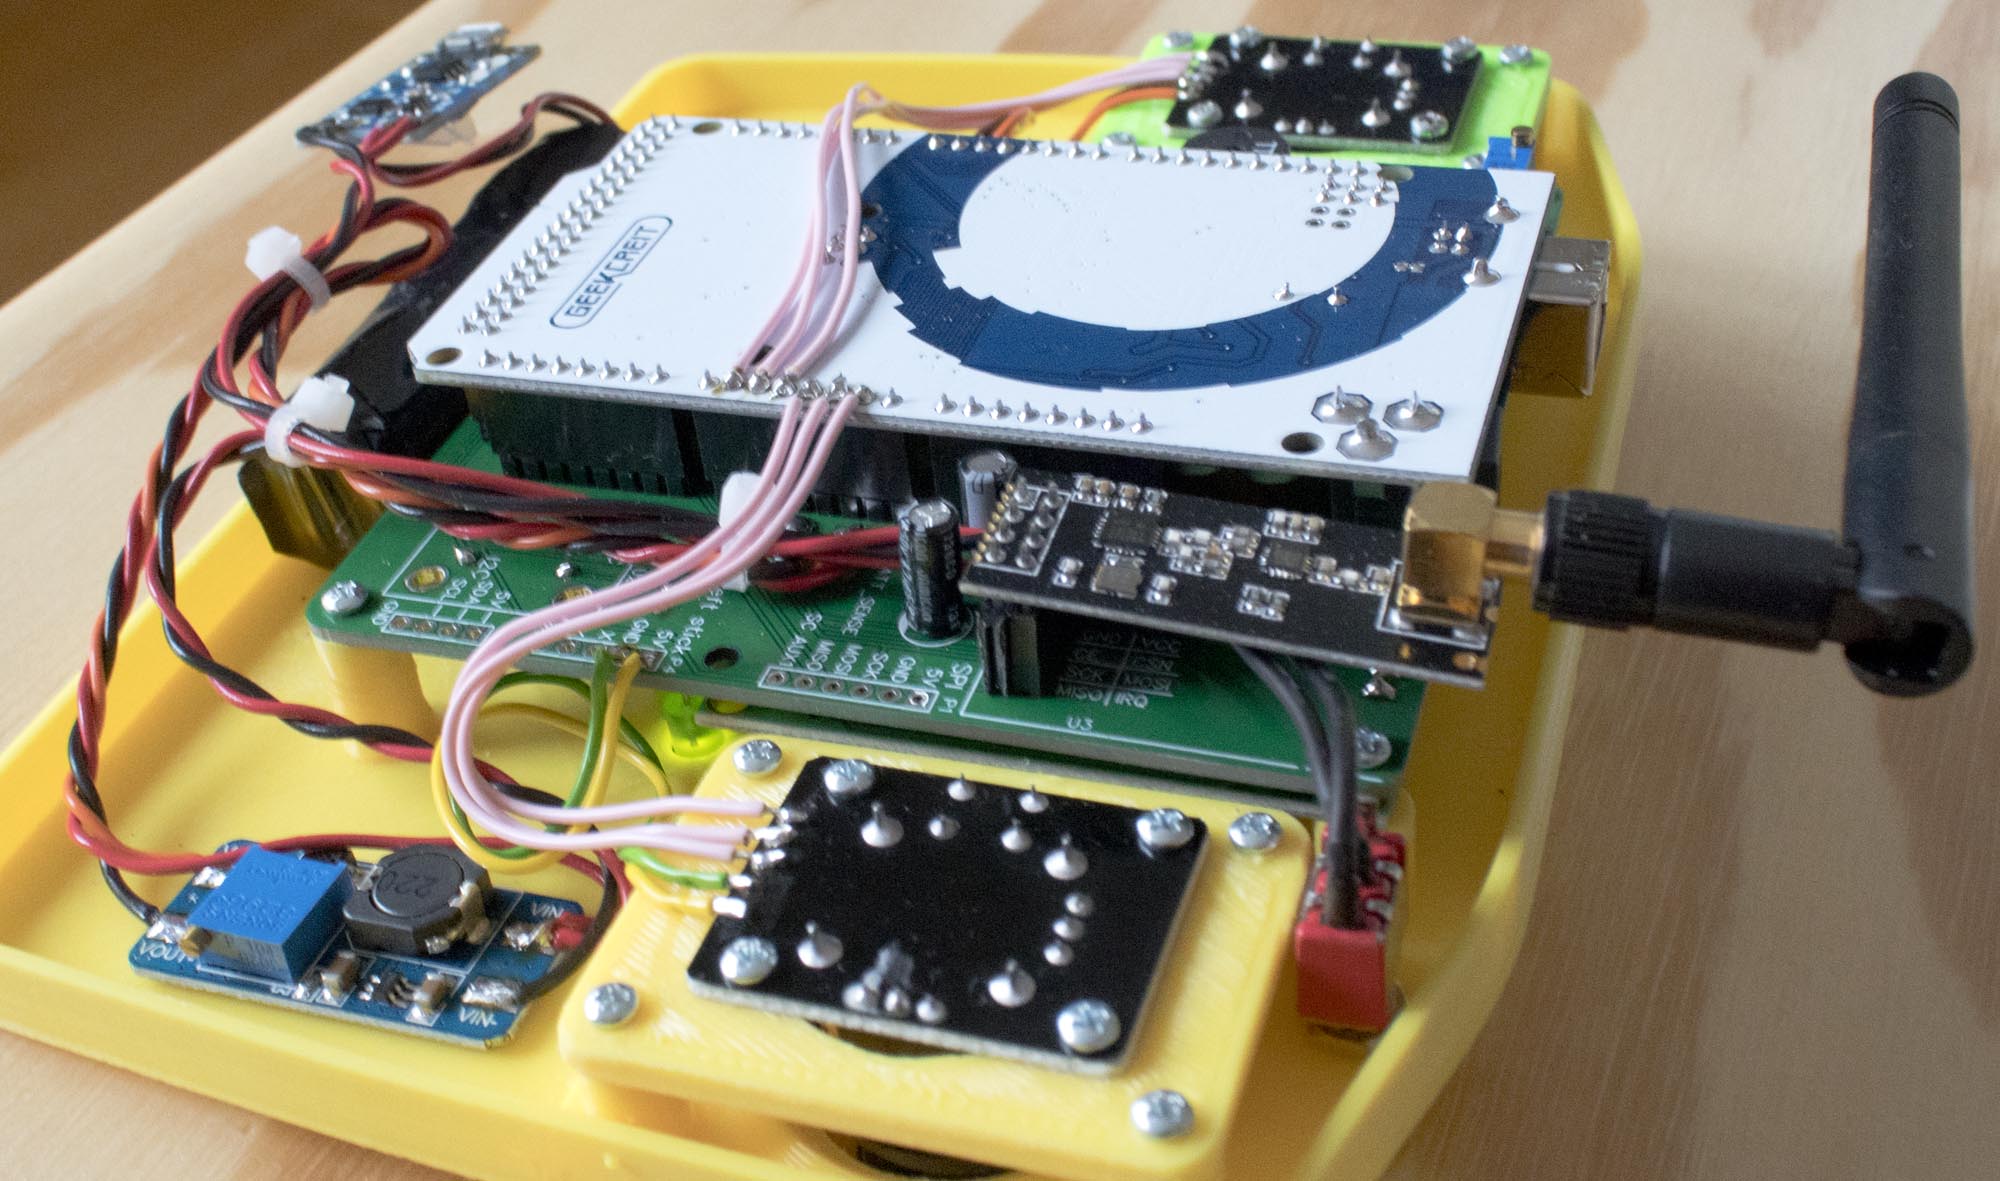
I am not satisfied with the remote yet. The biggest problem is the controls sticks I chose to use. They are really bad since only a small part around the center of each axis can be used as shown in the video. This makes it hard to control the robot with precision. I will probably redesign the remote to use a real control stick from an RC controller instead.
I have also planned to make the user interface on the remote for adjusting PID values and other parameters in the robot. This is the main reason why it has a display. More about that in a future video.
I have also installed two ultrasonic rangefinder sensors. They will be used for obstacle avoidance in the future, but I will finish the remote controller first.

Are you duplication the Mega board in the remote unit
No, the remote controller is its own PCB. I am not sure if I will use the current version yet, or if I will make a new version. I will probably redesign the remote a bit.
On the PCB V2 are the button switches for Mode and Reset like Taiss 6 x 6mm x 5mm PCB Momentary Tactile Tact Push Button Switch 4 Pin DIP (Black) – https://www.amazon.com/Momentary-Tactile-Button-Switch-black/dp/B0796QHL5Z
What are the values of R1 to R10 and C1 to C4
Are you going to use another Arduino Mega in the remotecontrol unit?
I found an article for using a wireless PS2 game controller for Arduino on https://create.arduino.cc/projecthub/electropeak/how-to-interface-ps2-wireless-controller-w-arduino-a0a813 that you might be intrested in.
Yes, those standard buttons should fit. If there as small differences you can probably bend the pins a little and make them fit.
See my email with info about the components. I will make the schematic with this info available for download in the future.
Yes, using a PS2 controller would probably also be an option, but I don’t own one. And I wanted to try the nrf24l01 -modules.