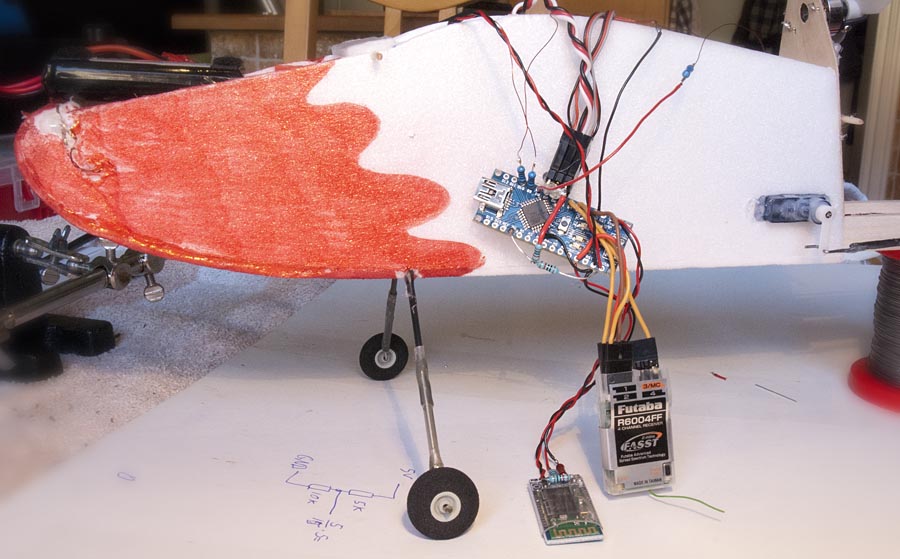
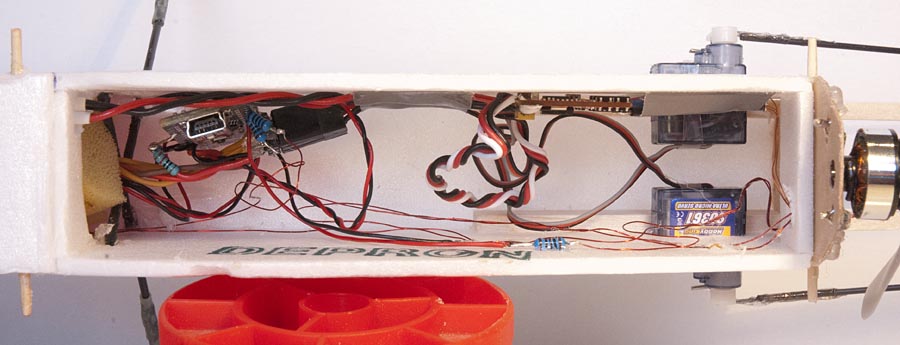
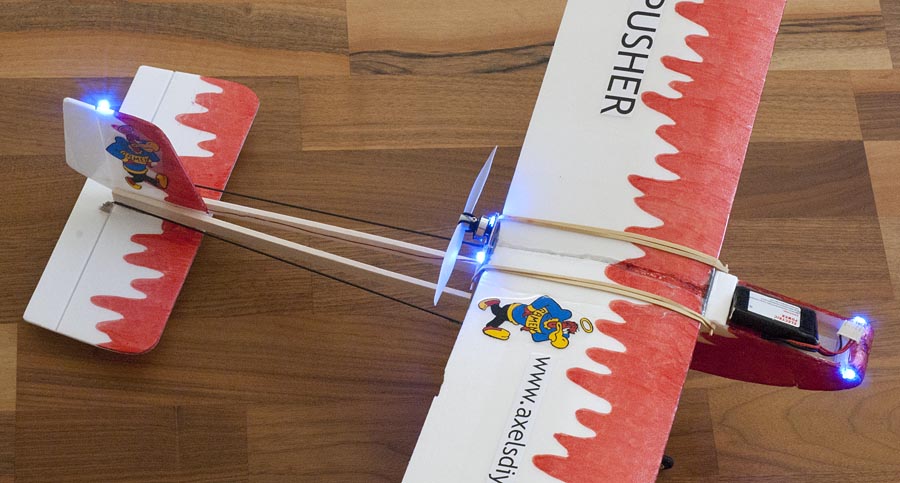
When I built the “Stik Pusher” indoor plane, I installed some LEDs that I did not connect. My intention was to add an Arduino but I wanted to test and make sure the plane worked as expected before I did it.
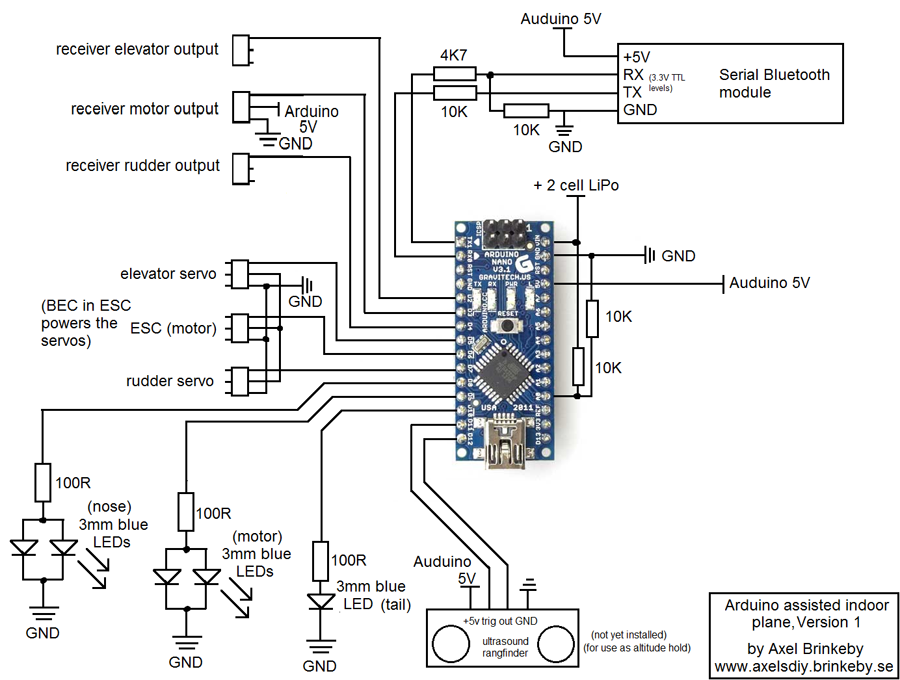
The main purpose of the Arduino is to monitor the battery voltage, but all control signals from the receiver to the servos and ESC (speed controller) now goes though the Arduino. The Arduino flashes the LEDs located on the fin, motor mount and nose depending on the battery status. If the voltage drops to low, the motor is stopped to protect the battery, but the the control surfaces still works. This is similar to how a normal “cutoff” function in an ESC works. My ESC in this plane in very small and simple and does not have this function built in.
I have also connected a serial bluetooth module the the Arduino for wireless communication. I also plan on connecting an ultrasonic range finder pointing downwards to experiment with an automatic altitude holding feature. This requires tuning some parameters, and this is where the bluetooth connectivity comes in handy. Maybe later. I will also try to control the plane with a smartphone app or laptop using this bluetooth connectivity.