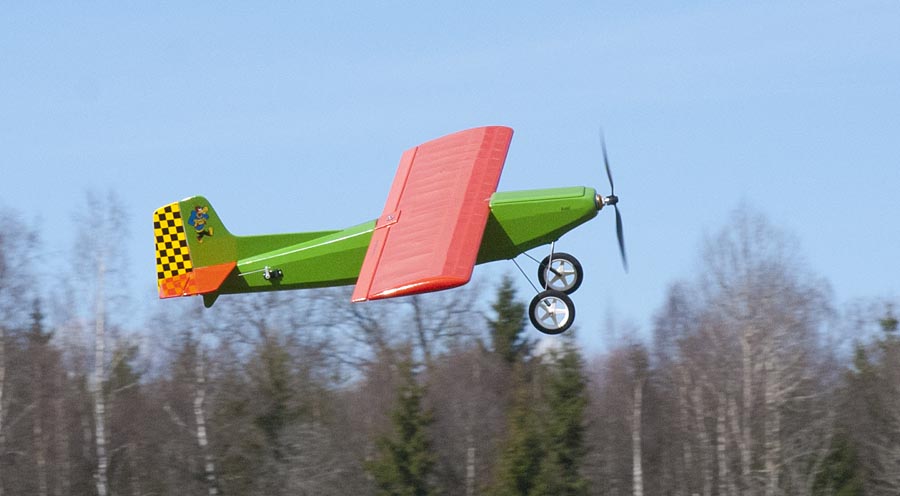
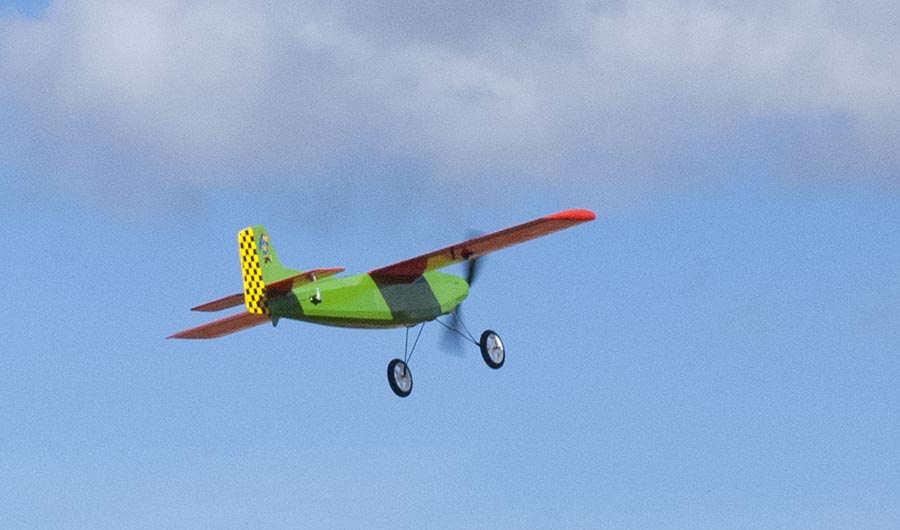
This video was shot about a week after the first flight when I had become more comfortable with the airplane and its flying characteristics.
Maiden flight of the BushBeast 2, my new balsa plane
This video shows the first few flights of a new balsa airplane that I have designed and built during this winter.
The airplane has a wingspan of 90 cm and weighs around 700 grams including battery. I use standard RC equipment, no special functions or microprocessors in this one. I built this airplane just to havs something unique and fun to fly with. The plane is built using traditional building techniques. It is built out of balsa and covered using Oracover.


Procedural terrain engine demo
This is a demo I made using C++, OpenGL and GLFW. It is a proceduraly generated landscape in which the user can “walk around”. The terrain is generated using Simplex-noise and is made up of chunks that are loaded and removed as the user walks over the terrain. It is possible to walk infinity (or at least very very far) in one direction without reaching any edge or crashing the program. The chunks are rendered in different levels of detail depending on the distance from the camera to improve performance.
Real time cloth simulation
This is a project I made together with two others students: Mikael Lindhe and Eleonora Petersson. This project was made in the course “Modelling Project TNM085” at Linköping University. The video demonstrates two pieces of cloth that are simulated in two different ways.
The first cloth is represented with particles that are connected with each other using constraints. This mean that whenever the cloth moves, the distances between the particles are corrected to make the cloth retain it’s shape. This is the “usual” method for simulating cloth in computer games.
The second cloth is simulated using a method where the particles are connected with each other using springs. When the cloth moves, forces are applied to all particles to correct them to there original distances from each other. This method proved to be more computationally heavy and less stable then the first method.
I was mainly working on the graphics part for this project, while the others focused more on the simulation part. It was the first time I developed a basic rendering system for modern OpenGL in C++ from scratch. It was also the first time I made a program that updates vertex buffer data for an object every frame.
IR sensors on the self balancing robot
This video shows some new IR distance sensors I have installed on my self balancing robot robot. The IR sensors are short range (5-10 cm) and should prevent the robot from running into things that the main ultrasonic sensors miss. The video also shows two servos I have installed under the robot. They are not connected yet, but they will later be used to raise the robot up again if it falls over.
Testing my new DIY mini quad
Here is a video of me testing my latest DIY home built mini quadcopter at a local indoor flying meetup. This quadcopter is built entirely out of wood and cowered using Oracover. It is strong and lightweight, designed for fast and agile LOS flying outdoors.
Improved world editor in Realization Engine 33
I made a new videon showing how I decorate a small island to demonstrate the new improved world editor mode. Now the user can place any abject as well as moving and rotating them. Objects and also be deleted. The world can be saved to a file from the editor. At startup, the program looks for a save file in the same folder as the executable file, if no save file is found, a default file is loaded. The video also shows some post processing effects I have implemented.
Download an try it yourself: http://sor.brinkeby.se/
Balancing robot simple autonomous behavior
Made a new video demonstrating how my Arduino based balancing robot can enter balancing mode by itself. The video also shows the robot doing basic obstacle avoidance using its tree ultrasonic rangefinders. The obstacle avoidance if currently done by one of the Arduinos, but this a typical high level function that will later be handled by the Raspberry Pi.
Mouse cursor ray casting in Realization Engine version 22
I have added a simple editor mode in my graphics engine that allows me to move and rotate entities with the mouse cursor.
This works by casting a ray from the camera, trough the mouse cursor, into the world. To select objects, the distance from the objects local origin to the mouse ray is calculated using linear algebra, if this distance is small enough the object is selected. Then the intersection point between this ray and the terrain is calculated using binary search, and used to position the selected object.
Download version 22 and try it yourself: Realization Engine download page
Double jump using [Space] to begin flying mode. Use space and [Shift] to fly up and down. Hold down [Alt] to free the mouse cursor to interact with objects. Click and drag objects with the left mouse button to move them. Click and drag with the right mouse button to rotate objects. Press the center mouse button to spawn a new “physics-barrel”.
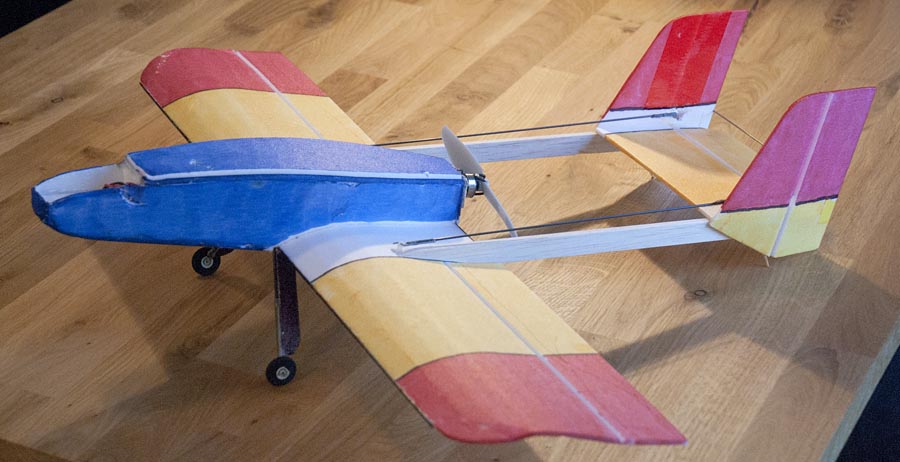
Indoor plane of this season (2015-2016)
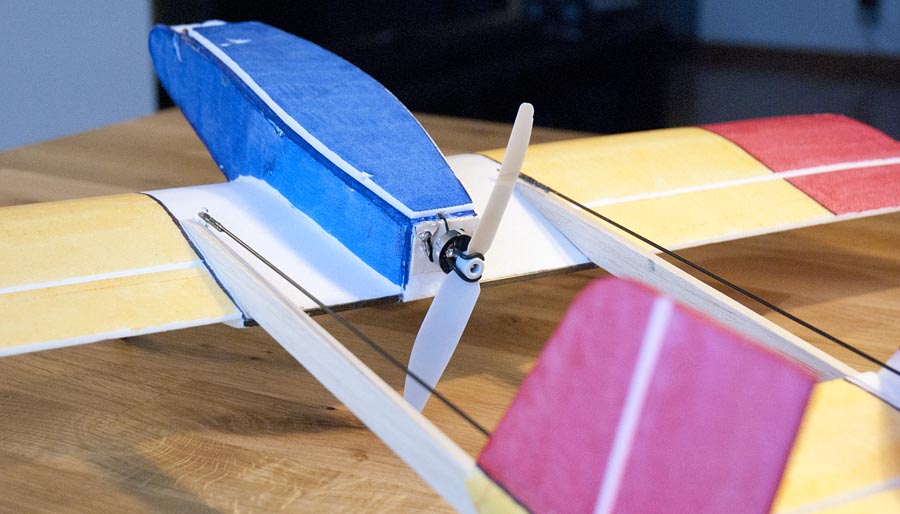
Last year I designed the “Stick pusher” for indoor flying. This years airplane is new design. I took all the things that a liked with last years airplane and added some new features, ailerons being the biggest change. I have also moved to a twin boom pusher design to be able to have the motor and propeller more in the center of the air frame, this removes the effect that airplane wants to dive when you increase the throttle. It also makes the airplane fly more symmetrically. The airplane has large control surfaces and is capable of tight loops and turns. It has a relatively large speed envelope for being a small indoor plane, it is possible to fly quit slow, but it can also fly very fast if you want.


